Follow Me

My Banner

Midnight Garden Blog Train

Inspired Together Blog Train

Showing posts with label Tuts_PSP Scripts. Show all posts

Thursday, October 29, 2026

PSP Scripts In Color Layers


You can buy Ms. Claus HERE

Comes with the following plus
details of tutorial for you too 

1 PSP Image
 (open it color it as you want with papers or your color choice)

1 PSP in Color Layers
(open it find my color choice blend, change body colors,
change hair colors, you can change dress, ribbon and the snowflake colors
you can remove the holly make her as a doll design)

5 Elements
(tagger size of 700 height pixels to show a preview of what 
you can build out of the PSP in Color Layers of Ms. Claus)

For PU or CU use 

Go HERE to my store for PSP Scripts,
etc. designs xx 


For the tutorial for PSP in Color Layers

1. Open the PSP In Color Layers

2. Go to Windows>Duplicate close the original out

3. Choose the style you want leave open all 
overlays close all colors except what you want 
to be seen in the psp image design. Once please go to the next step 

4. Go to Layers>Merge>Merge Visible 
(you will see alot of close off and merge of the element you create)

5. Go to Edit>Copy 

6. Go to Edit>Paste into New Image 

7. Close the PSP in Color we done using it 

8. Re size the element you create to your choice size
I use 700 pixels height 

9. Go to File save as PNG Image 

This completes the tutorial of how to use the PSP
in Color Layers of the psp scripts, overlays, papers
etc. design that I create to share with you 

Some tubes you be able to make it with more
or less designs due to what you choose to create

You can design my color chart of choices
or you can color from your choice 

Have fun mix and match

Hugs Sunshine 

Thanks for stopping by all new psp scripts, 
or psp images will come this way 

Have a great day come back soon
as new things will arrive 

Hugs Again 

Tuesday, December 2, 2025

How to Use PSP Scripts


Sample Design for PSP Script

and there more at the store view the link below 

they are for PU or CU use only xx 


PSP Scripts HERE


1. Open Template 1 go to Windows>Duplicate close the original out 

2. Open next template go to Edit>Copy then go to template 1 it becomes your transparent image go to Edit>Paste into new raster layer with your move tool move as it shown in the psp script sample page or it should fall right into place for you 

3. Open next template do step 2 again do this with all the templates

All PSP Scripts comes with a # number of Elements you can use for PU Or CU use to add into your kits

Some of the PSP Scripts will come with bonus templates and/or bonus Paper tiles that you can go into your pattern materials to use them

All PNG Templates are design to open in any psp program

No copyright is required on any of the PSP Scripts they are design for making scrap kits, greeting cards, business cards, etc designs for personal or commercial use

I hope you enjoy the psp scripts look for more to come soon there is also element color in each folder for you too that you can use for making graphic tags, greeting cards, business cards etc designs too in each folder for you

Thanks for stopping by this completes how to build PSP Script into layers thanks for stopping by may you have a good day look new designs to come soon 


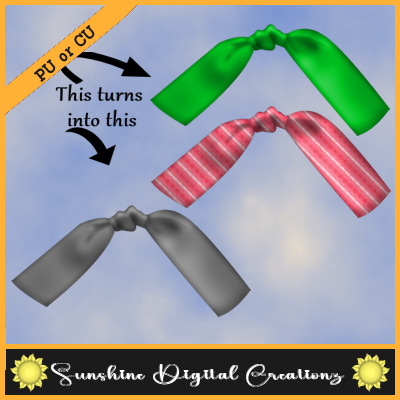
For coloring PSP Scripts or Template Elements you can view the Overlay Tut HERE it works the same for papers, templates and psp scripts 


PSP Scripts HERE or under Theme Designs 

Overlay and Templates HERE or under Theme Designs 

Or simply go to my store HERE for all designs 


Hugs Sunshine